The electrical rough-in is a key part of any construction project. It's when electricians install all the wiring, boxes, and conduit inside the walls before drywall is hung. Passing the electrical rough-in inspection is a must. It ensures the safety and long life of your home's electrical system.
A failed inspection means costly delays and rework. It can also point to safety hazards that could cause problems later. For homeowners in Monterey County, CA, or Maricopa County, AZ, knowing what inspectors look for is vital. This keeps your project on schedule and within budget. A great way to prepare is by creating standard operating procedures to ensure every step is followed correctly.
This electrical rough in inspection checklist from Aldridge Construction will guide you through the six most important areas. We'll cover everything from wire sizes to grounding systems. We'll break down complex codes into simple steps so you can pass your inspection the first time.
1. Electrical Permit and Plan Compliance: The Foundation of Your Project
Before an inspector even looks at a wire, they check the paperwork. Their first job is to make sure the work matches the approved plans and permits. This is the first step in any electrical rough in inspection checklist.
This check confirms the project is legal and follows the exact plans submitted to your local building department, whether in Santa Cruz County, CA, or Maricopa County, AZ.
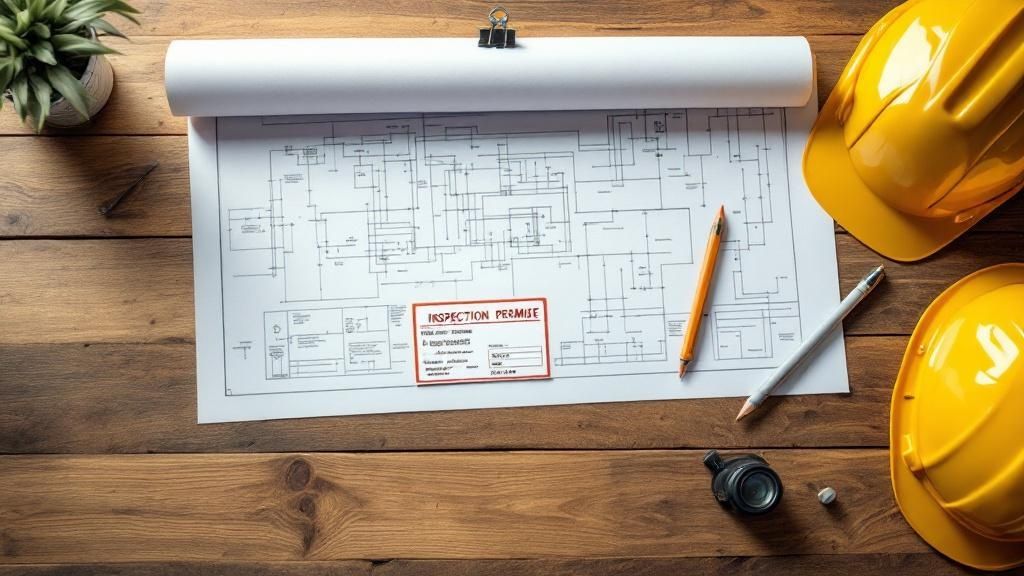
Think of the approved plan as the project's rulebook. Every outlet, switch, and circuit has a specific location. The inspector must verify that what's inside the walls matches this rulebook perfectly. Even small changes can lead to a failed inspection.
Why Plan Compliance Is Non-Negotiable
This step is about safety and function, not just paperwork. The plans include important details like load calculations and wire sizes. These are designed to prevent overloads and fire risks. Forgetting a dedicated circuit for a new dishwasher in a Salinas kitchen or moving a subpanel in a Monterey ADU can cause major issues.
An inspector will look for:
- A posted and valid electrical permit card.
- A complete, stamped set of approved electrical plans on-site.
- Consistency between the plans and the physical installation.
Actionable Tips for a Smooth Inspection
To pass this first test, be prepared. Keep the permit card and a clean set of plans in a waterproof pouch on the job site. Make sure it is easy for the inspector to find.
If you need to make a change, get it approved first. Submit a plan revision to the building department and wait for the approved copy before the inspector arrives. This simple step shows professionalism and prevents an automatic failure.
2. Conductor Sizing and Installation: The Backbone of Your Electrical System
After checking the plans, the inspector looks at the wiring itself. This part of the electrical rough in inspection checklist focuses on conductor sizing and installation. The inspector ensures every wire is the right size for its job and is safely run through the wall framing.
The correct wire gauge prevents overheating and potential fire hazards. This makes it a critical safety check.
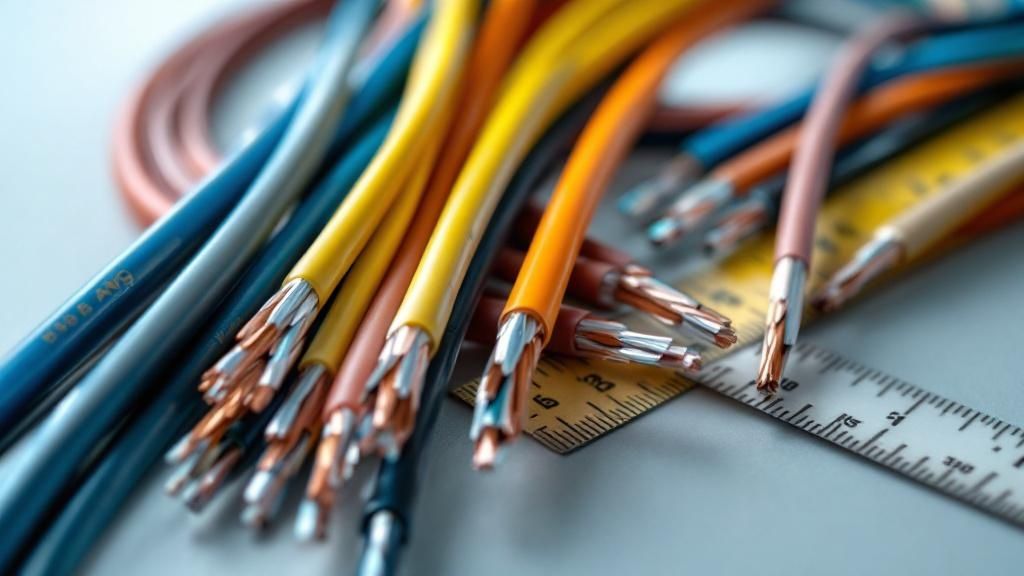
Think of wires as highways for electricity. A wire that is too small for the current is like a tiny road during rush hour. It gets dangerously hot. The inspector makes sure these electrical highways are wide enough (correct gauge) to handle the traffic (amperage) safely.
Why Correct Sizing and Installation Matter
Proper wire selection is a basic part of a safe electrical system. An undersized wire for a big appliance like a stove can melt and start a fire. Improper installation, like unsecured cables or sharp bends, can also damage the wire over time.
An inspector will check:
- Wire Gauge vs. Circuit Breaker: The wire size must match the amperage of its breaker (e.g., 12-gauge wire for a 20-amp breaker).
- Conductor Type: The right type of wire must be used for the location, such as NM-B wire for dry indoor spaces.
- Derating Factors: Adjustments must be made if many wires are bundled together or if the area has high temperatures.
Actionable Tips for a Smooth Inspection
Always check the National Electrical Code (NEC) for correct wire sizes. For long wire runs over 100 feet, you may need a larger wire to prevent power loss, known as voltage drop.
Using the right connectors for the wire size is also important for a secure connection. These details are a key part of a successful project, a standard Aldridge Construction follows throughout the custom home building process.
3. Panel Installation and Circuit Protection
The electrical panel is the heart of a home's electrical system. It distributes power to all the circuits. An inspector will carefully check the panel installation to ensure it is safe and correctly wired.
This step on the electrical rough in inspection checklist is vital for preventing overloads and fires.
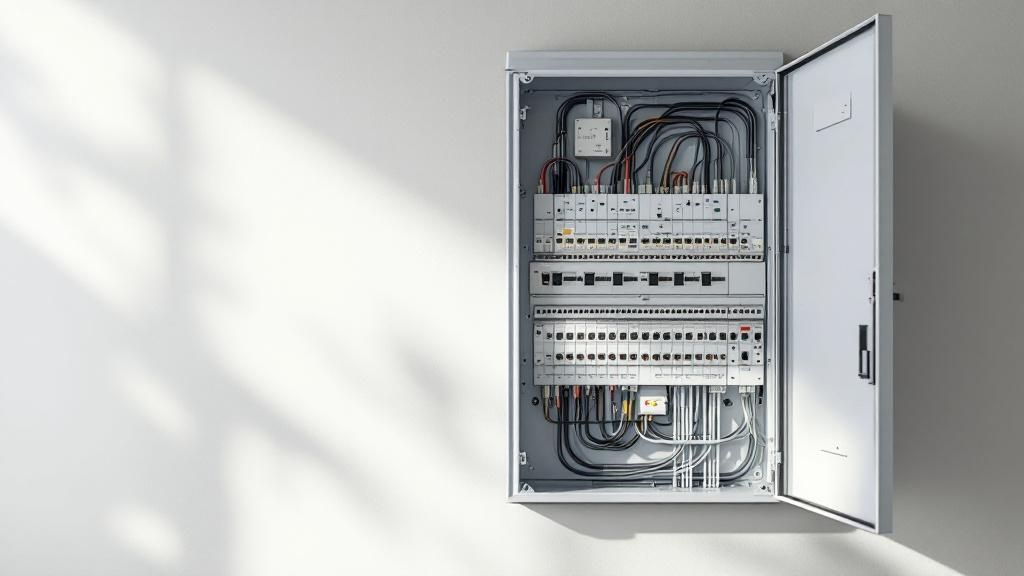
Think of the panel as a command center. Each circuit breaker is a safety switch. It automatically shuts off power if it senses a problem. The inspector confirms this command center is installed correctly and the breakers are the right size for the wires they protect.
Why Panel and Breaker Compliance Is Non-Negotiable
This inspection is about long-term safety. An undersized breaker won't trip when it should, letting wires get too hot. A panel without enough clearance is a hazard for anyone working on it. Inspectors in areas from Maricopa County, AZ, to Santa Cruz County, CA, focus on these details.
An inspector will look for:
- Secure mounting of the panel.
- Correct sizing of all circuit breakers.
- Proper grounding of the panel.
- Adequate working space around the panel (usually 3 feet deep by 30 inches wide).
Actionable Tips for a Smooth Inspection
Proper planning is key to passing this part of the inspection. Always leave at least three feet of clear workspace in front of the panel. Use a torque wrench to tighten all connections to the manufacturer's specified settings. This prevents loose connections that can cause fires.
Make sure you have installed the correct types of breakers, like Arc-Fault Circuit Interrupters (AFCIs) and Ground-Fault Circuit Interrupters (GFCIs), where the code requires them. This is a common reason for failed inspections.
4. Grounding and Bonding Systems
A safe electrical system is a well-grounded one. This step in the electrical rough in inspection checklist confirms the entire grounding and bonding system is installed correctly. This system protects people from electrical shocks and fires.
It provides a safe path for stray electrical currents to travel into the earth.
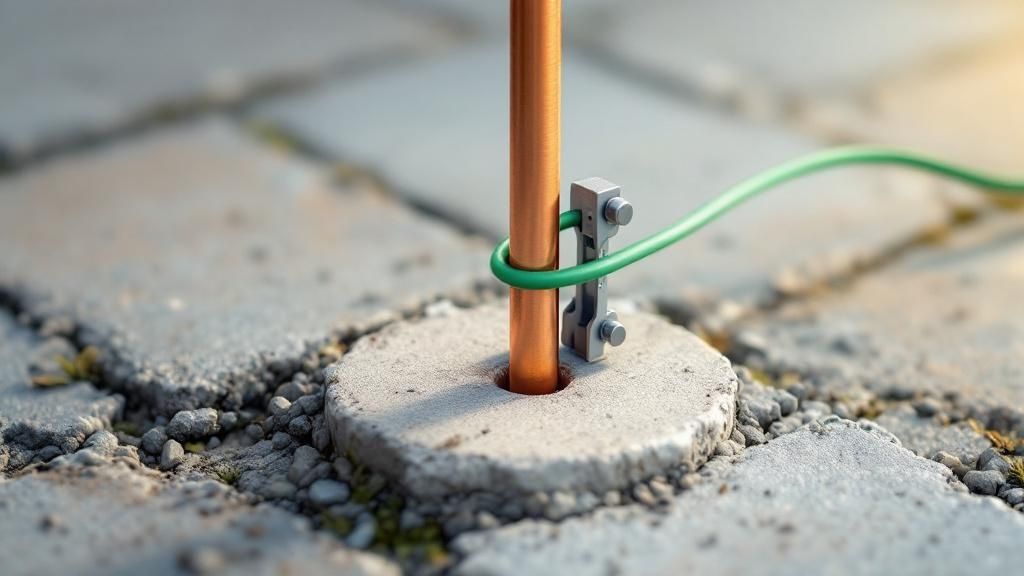
Inspectors in Monterey and Maricopa County, AZ, look closely at the grounding system. A proper system ensures that any stray voltage is safely directed away from the building. This trips a breaker and stops the flow of dangerous electricity.
Why Grounding and Bonding Are Non-Negotiable
This is not a step where "close enough" is okay. A weak grounding path can make circuit breakers useless during a problem. This could make metal surfaces like appliances or plumbing pipes live with electricity. The inspector confirms a continuous path exists from every outlet and switch back to the main panel and into the earth.
An inspector will look for:
- A properly installed grounding electrode (like a ground rod or Ufer ground).
- Correctly sized grounding wires according to the National Electrical Code (NEC).
- Secure bonding of metal systems like gas and water pipes.
- A ground wire present in every electrical box.
Actionable Tips for a Smooth Inspection
To pass this part of your inspection, pay attention to detail. Make sure all underground grounding connections use permanent connectors as required by code.
Always bond metal water and gas pipes where they enter the building. Check that every metal box has a ground wire connected to it. A well-installed grounding system is the silent protector of your home.
5. Box Fill and Junction Box Requirements
An electrical box is more than just a container. It's a key safety part that holds wires and connections. Putting too many wires in one box is a common mistake and a serious fire risk.
An inspector on your electrical rough in inspection checklist will calculate "box fill." This ensures there is enough space for heat to escape and for wires not to get damaged.
Think of box fill as a capacity limit. Every wire, switch, and outlet takes up space inside the box. The inspector checks that the total volume of these parts does not go over the box's limit. Using a box that's too small is a sure way to fail your inspection.
Why Correct Box Fill is Non-Negotiable
This rule is about preventing fires. When too many wires are crammed into a small space, they can overheat. This heat can melt the wire insulation, leading to short circuits and fires inside your walls. Proper box selection is crucial for safety in any home, from Santa Cruz County to Maricopa County, AZ.
An inspector will check for:
- Correct box sizing based on the number of wires.
- Proper installation, with the box securely fastened.
- Accessibility of all junction boxes (they can never be hidden behind drywall).
Actionable Tips for a Smooth Inspection
To avoid a failure here, always calculate your box fill before you install the box. The National Electrical Code (NEC) has tables to help with this. Remember to count the wires, devices (like switches or outlets), and clamps.
When in doubt, always use a bigger box. There is no penalty for having too much space. Using quality parts like a Cantex Electrical Box for Safety is critical for passing inspection.
6. GFCI and AFCI Protection Requirements
Modern electrical codes are designed to protect people from shock and fire. This is where Ground Fault Circuit Interrupters (GFCIs) and Arc Fault Circuit Interrupters (AFCIs) come in. These devices are a critical part of your electrical rough in inspection checklist.
An inspector will check that these life-saving devices are installed in all the right places.
Think of GFCIs as shock protectors and AFCIs as fire protectors. GFCIs monitor electricity and cut power if they sense an imbalance, like power flowing through a person. AFCIs detect dangerous sparks in wiring that can cause fires. Proper installation is a key safety standard.
Why GFCI and AFCI Compliance Is Non-Negotiable
This step is all about safety. A missing GFCI outlet near a bathroom sink in a Monterey home creates a big risk. An unprotected bedroom circuit in a new Maricopa County home is also a hazard. Inspectors enforce these rules strictly because these devices are proven to save lives.
An inspector will look for:
- GFCI protection in all required "wet" locations (kitchens, bathrooms, garages, outdoors).
- AFCI protection on circuits in living spaces (bedrooms, living rooms, hallways).
- Proper installation of all protected outlets and breakers.
Actionable Tips for a Smooth Inspection
To pass this inspection, be thorough. Use combination AFCI/GFCI circuit breakers where you need both types of protection. This can simplify your wiring.
When using a GFCI outlet to protect other outlets downstream, put a "GFCI Protected" sticker on each of those outlets. Before the inspection, test every GFCI device using its "Test" and "Reset" buttons to make sure it works correctly.
Pass Your Inspection with Confidence
Passing an electrical rough-in inspection can feel like a big test. With so many details to get right, it's easy to feel overwhelmed. But this stage is about more than just a one-time check. It's about building safety and reliability into your home for years to come.
This electrical rough-in inspection checklist is your guide. By following these steps, you can turn a complex job into a manageable one. You are building a system that protects your family and your investment.
Key Takeaways for a Successful Inspection
- Plans and Permits First: Your approved plans are your roadmap. Always keep your permit and plans on-site and easy to find.
- Grounding is a Must: A good grounding system is the most important safety feature. Double-check every connection.
- Protection is Key: GFCI and AFCI devices are your first line of defense against shock and fire. Make sure they are installed where required.
- Quality Work Matters: Inspectors look for neat and professional work. Securely supported cables and organized panels show a high-quality job.
For complex projects, getting expert help is wise. Top professionals like leading MEP engineering consultants in Dubai show how expert planning leads to success.
A passed inspection is more than a green tag. It's proof that your home's electrical "skeleton" is sound. It confirms the hidden network behind your walls will safely power your life.
Frequently Asked Questions (FAQs)
1. What is the most common reason for a failed electrical rough-in inspection?
The most common reasons are incorrect box fill (too many wires in a box), improper grounding, and failure to install GFCI or AFCI protection in required locations like kitchens, bathrooms, and bedrooms.
2. Can I do my own electrical rough-in work in Monterey County?
While some jurisdictions allow homeowners to perform their own electrical work, it is highly complex and regulated. To ensure safety and code compliance, it is always recommended to hire a licensed electrician managed by an experienced general contractor like Aldridge Construction.
3. How far should electrical wires be from plumbing pipes?
The National Electrical Code (NEC) doesn't give a specific minimum distance for parallel runs. However, wires should never be supported by plumbing pipes. A good rule is to keep as much separation as possible to prevent physical damage or issues from leaks.
4. What happens if I make a change to the electrical plan after it's approved?
Any change to the approved plan, no matter how small, must be submitted as a revision to your local building department in Santa Cruz or San Benito County. You must receive an approved copy of the revised plan before the inspection, or the inspection will fail.
5. How are electrical codes different in Arizona versus California?
Both states base their codes on the National Electrical Code (NEC), but local jurisdictions in Maricopa County, AZ, and Monterey County, CA, can have specific amendments. For example, California has unique energy efficiency standards (Title 24) that can affect lighting and circuit requirements.
Ready to ensure your project's electrical system is built to the highest standards? The team at Aldridge Construction manages every detail, from planning and permits to coordinating with licensed electricians and ensuring a passed inspection. Contact us today to discuss your project in Monterey, Santa Cruz, San Benito, or Maricopa County and build with confidence.